Here we have a few images of the process from beginning to end of FBX export of another structure for Samsara.
From top to bottom of the post, we go from Maya to Zbrush to xNormal to Photoshop back to Maya to finish up tangents and binormals and place diffuse and normal maps created through the use of xNormal.
To make the diffuse layer, we take the curvature blue channel and ambient occlusion and layer it over the poly paint from ZBrush in Photoshop. Once the stuff is all layered, you take the curvature and set the layer to screen while taking the ambient occlusion layer and setting it to multiply.
After doing it a few times, it becomes muscle memory.
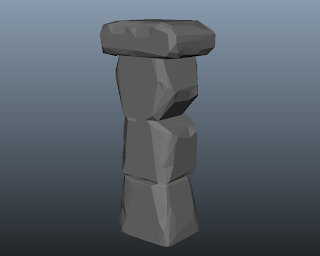
 |
| basic and quick, placing primitives. |
 |
| after a bit of sculpting and decimation, we get this. |
 |
| this is the polypaint of the non decimated, high poly model. |
 |
| placing the low poly model back into maya to put the textures on. |
 |
| the high poly paint placed on the low poly model, with normals softened. |
 |
| this will have a nice shadow cast once we get it into UDK. |


No comments:
Post a Comment